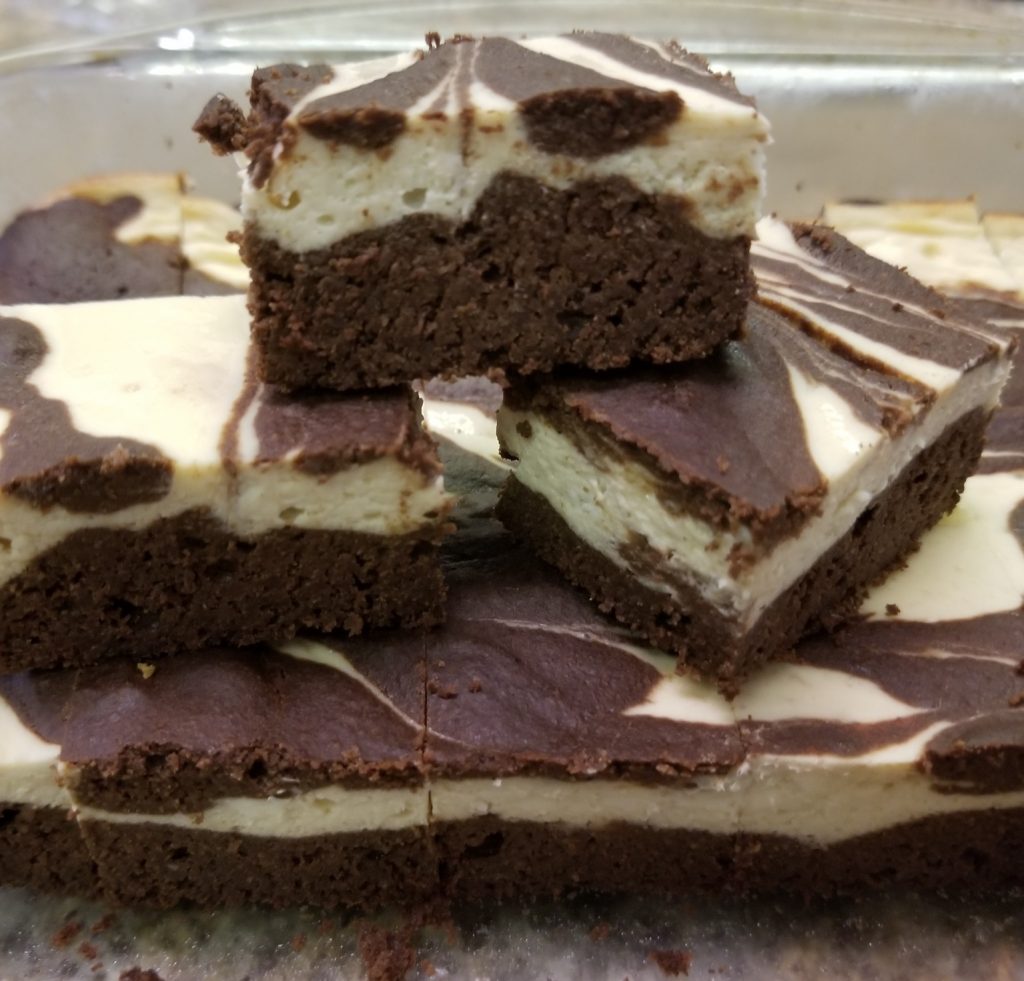
Moist Brownie Cheesecake - Sugar Free & Keto Friendly

This gorgeous looking Low-Carb Brownie is just scrumptious and quite exquisite looking with the swirl of black & white together! I've served these at many family gatherings and they are a hit every time. Even our sugar lovers can't taste the difference :-)
Yield 16 servings
Cream Cheese Filling
8 oz cream cheese softened
1 Large egg
1 tsp Vanilla Extract
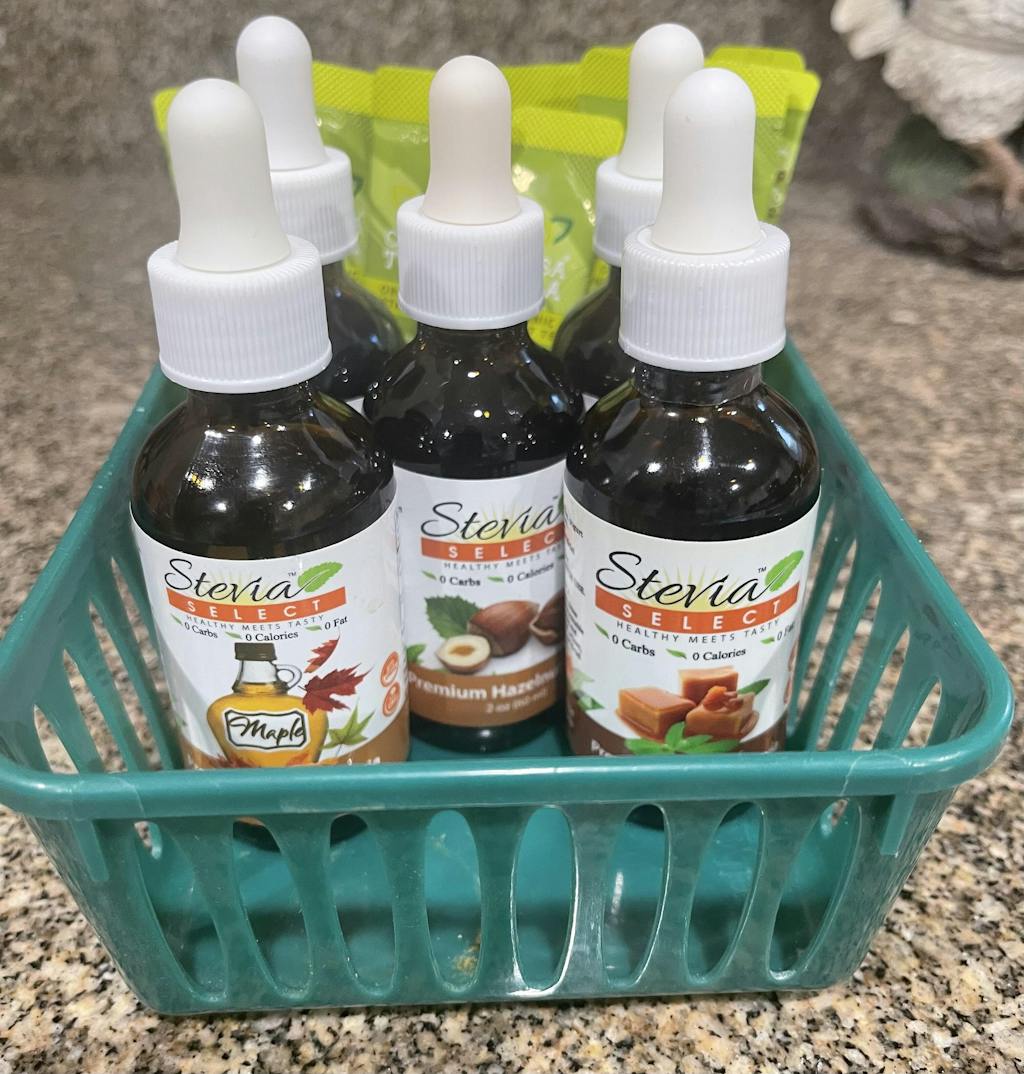
1/4 cup Stevia Baking Blend
1/4 ts Stevia Select Pure Stevia
Brownies
2 Large eggs (I use pasture raised)
1/4 cup Stevia Baking Blend
1/4 ts Stevia Select Pure Stevia
4 tbsp butter
3 oz unsweetened 100% cocoa Baker's Chocolate
1/2 tsp Stevia Select Vanilla Drops
1/2 tsp salt
1/2 tsp baking powder
Instructions:
- Preheat oven to 350 and grease an 8x8 pan. Set aside.
- Make the cream cheese part first by beating cream cheese with Stevia Baking Blend, until smooth.
- Mix in egg, Stevia Select powder, and vanilla extract.
- Transfer batter into a new bowl and set aside.
- Melt the Bakers chocolate and butter together in the microwave or small saucepan, until melted. **If using the microwave, watch carefully as this may scorch the chocolate. This is why I prefer the stovetop method.
- Now prepare brownie mixture by beating eggs, stevia powder, vanilla, and Stevia Baking blend until fluffy.
- Now add the almond flour, baking powder, and salt. Mix completely.
- Lastly, slowly drizzle melted chocolate mix into batter while mixer is running on low speed.
- Spread 2/3 (roughly) of the brownie mixture into the prepared pan.
- Spread all the cream cheese over the brownie being careful not to mix them together. You only want to layer these two.
- Add remaining brownie mixture to create a swirl pattern by dropping 6 equal portions onto the white cheesecake. Place these at even intervals, such as 3 rows of two drops of brownie batter. With a knife, swirl to create a marbled look. (less mixing is best).
- Bake 20 minutes or until a toothpick inserted in the center comes out clean. Let cool 10 min. and enjoy warm or refrigerate 6 hours, for a more authentic "cheesecake" flavor *my preferred way to eat these.